How to Separate Sleeping and Living Areas in a Studio Apartment
Living in a studio sounds romantic until you’re eating dinner three feet from your unmade bed. Here’s the thing — you don’t need a renovation or a contractor to fix that. With the right divider, the right rug, and a little bit of planning, one room can feel like two. I’ve lived in a studio. I’ve made every mistake in this article. Let me save you the trouble.
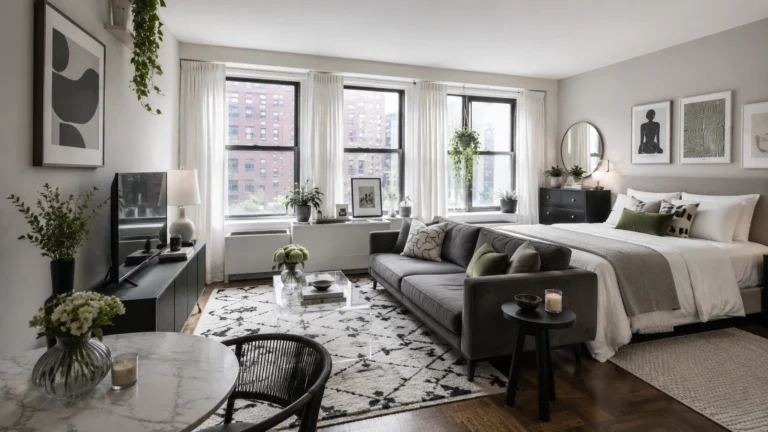
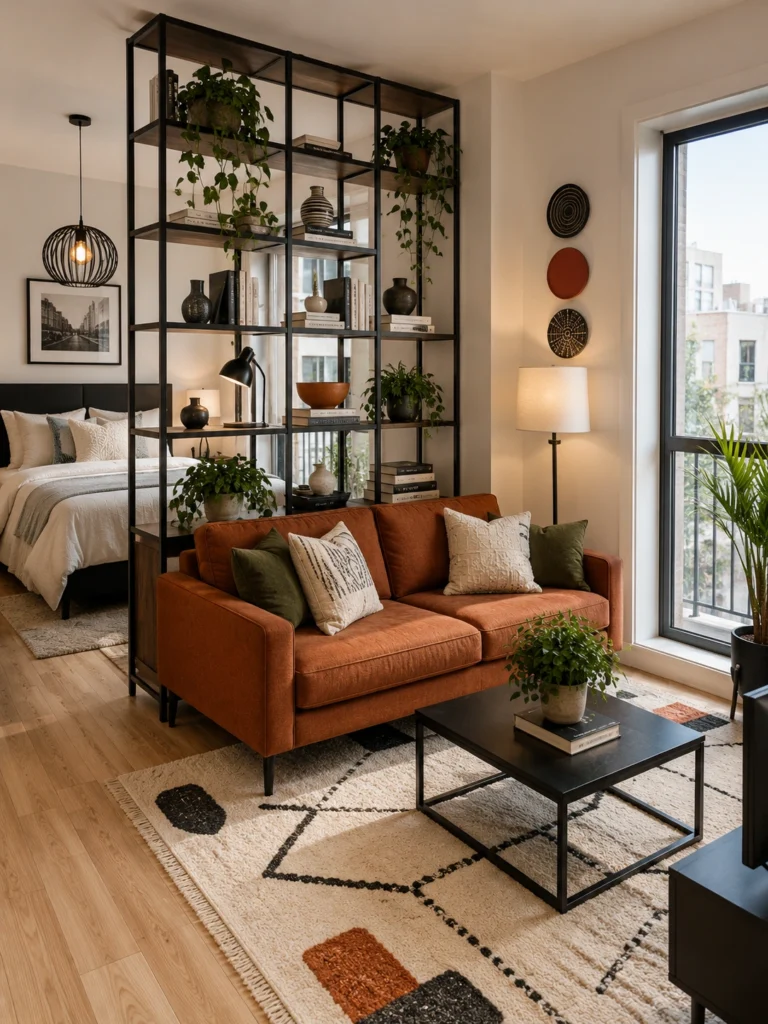
1. A Plant-Covered Room Divider Is the Most Beautiful Partition You’ll Ever Own
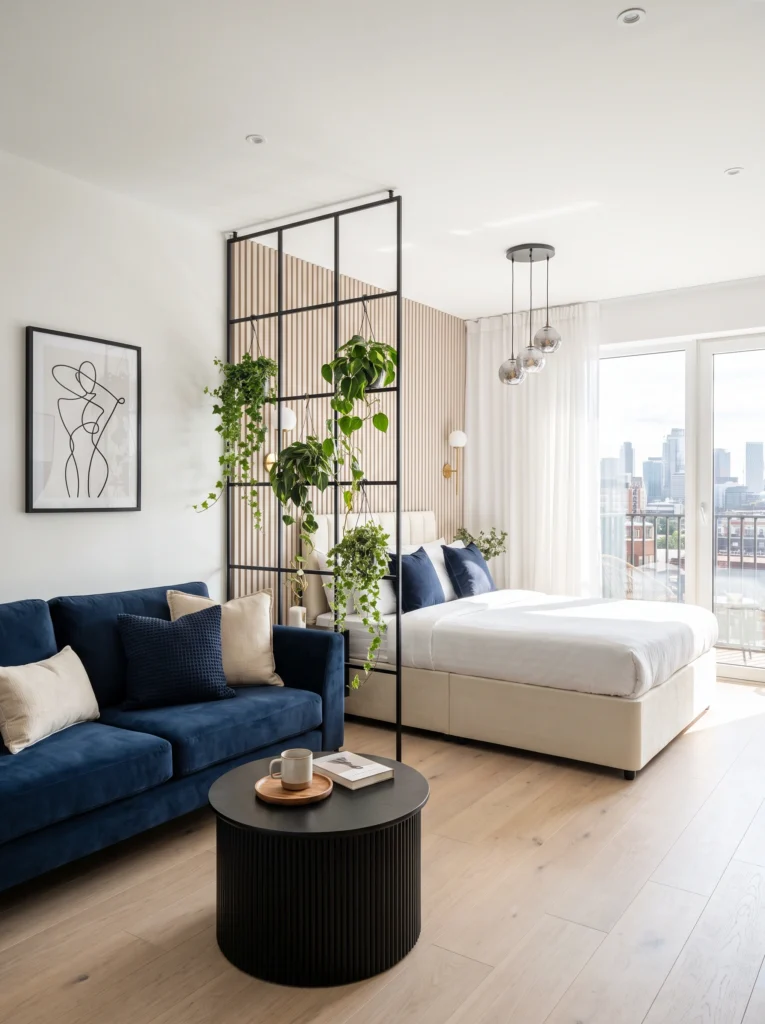
A black metal grid divider hung with trailing plants — pothos, philodendron, ivy — is the studio room separator that earns its place not just functionally but visually. It breathes, it moves, it filters light, and it brings life into the room in a way no wall or curtain ever could. The navy sofa and black ribbed coffee table anchor the living zone with confidence. Behind the plants: an oak slat panel, white linen, and a city skyline through floor-to-ceiling glass. Quietly extraordinary.
My favorite: A black metal grid panel ($50–$90 at most home stores) plus six trailing pothos plants ($8 each from a garden center) gives you this exact look for under $150. Pothos thrive in indirect light and practically grow themselves.
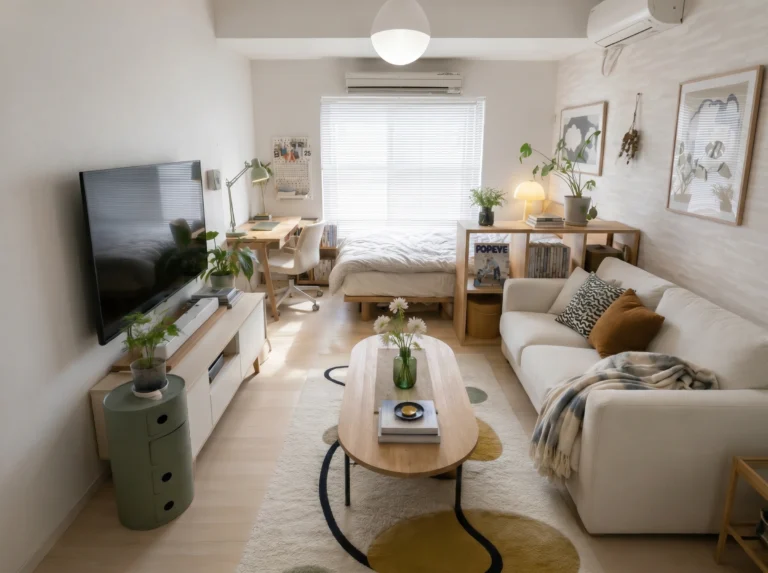
2. A Bold Rug Is the Fastest Way to Separate Zones Without Any Furniture
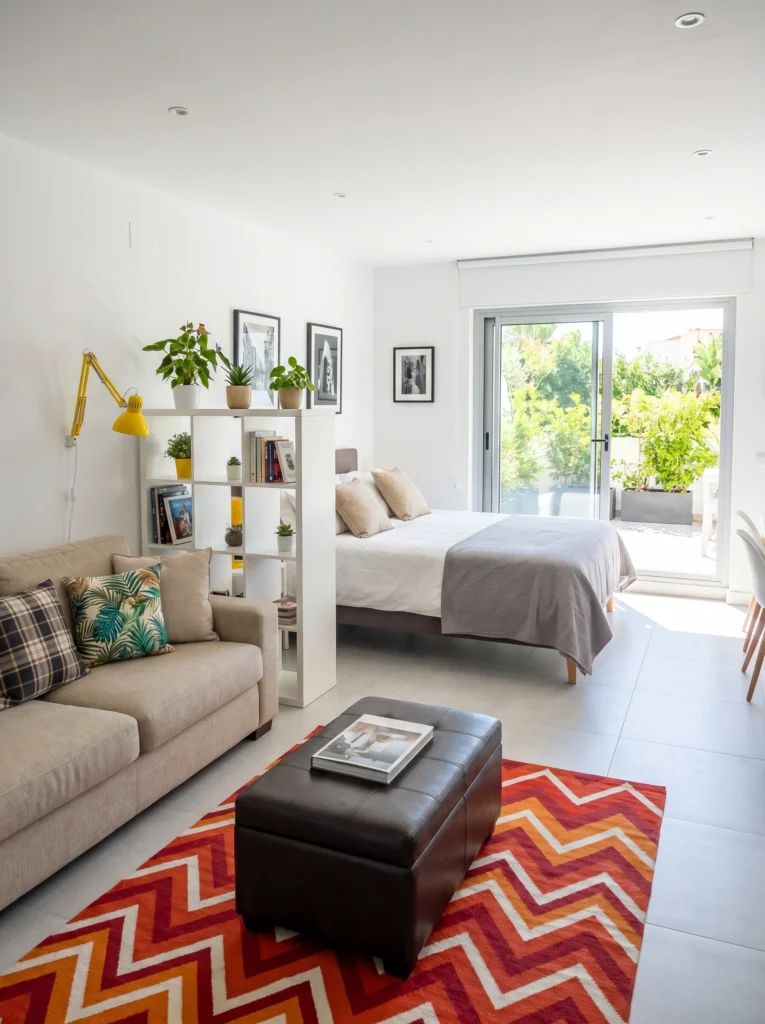
That red-orange chevron rug is doing the entire job of a room divider without taking up a single extra inch. The living zone starts where the rug starts and ends where it ends — no furniture required to draw the line. The white cube shelf behind the sofa marks the transition point between living and sleeping, but the rug had already made it obvious. A yellow wall-mounted arm lamp adds a pop of warmth to the white walls. One bold rug, one clear zone, zero ambiguity.
Don’t waste your money on: Multiple small rugs to define zones separately. One large, bold statement rug under the sofa and coffee table does more zone-defining work than three coordinating rugs ever could.
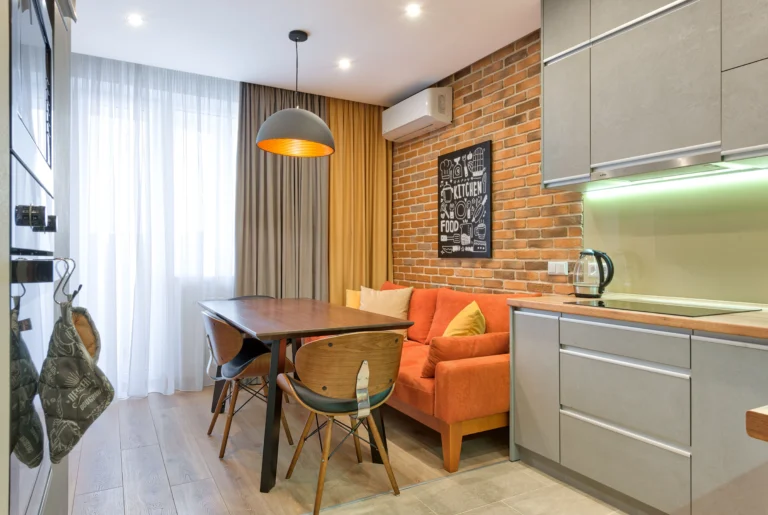
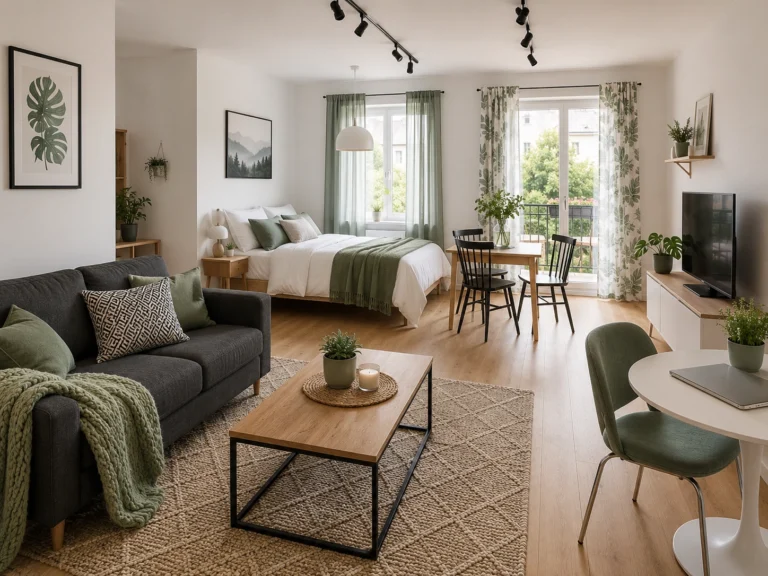
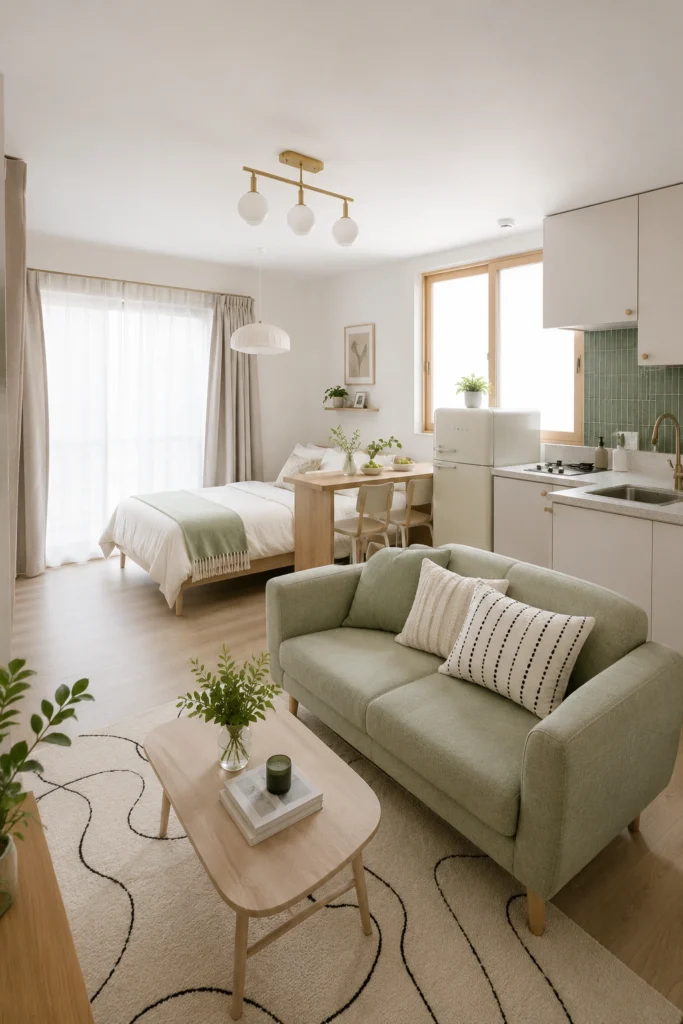
3. A Yellow Sofa Is the Room Divider You Didn’t Know You Needed
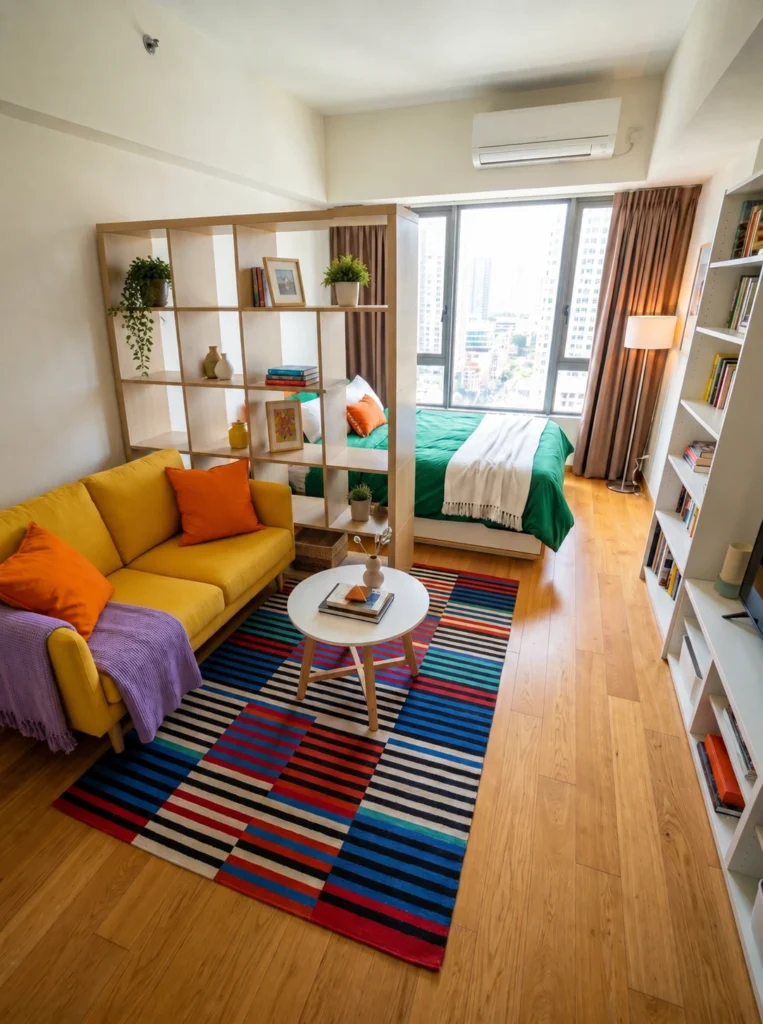
A mustard yellow sofa is bold enough on its own — but placed with its back to the bedroom zone, it becomes a visual wall that separates living from sleeping without blocking light or air. The light oak open shelf behind it reinforces the boundary. The multicolor striped rug grounds the living side and matches the energy of the yellow sofa without competing. Green bedding peeks through the divider shelves, threading color from one zone to the other. This room is joyful on purpose.
Pro tip: Placing your sofa back-to-back with a low shelf unit (rather than against a wall) is the most effective furniture-based room division strategy in a studio. The back of the sofa becomes a visual wall; the shelf adds storage. No construction needed.
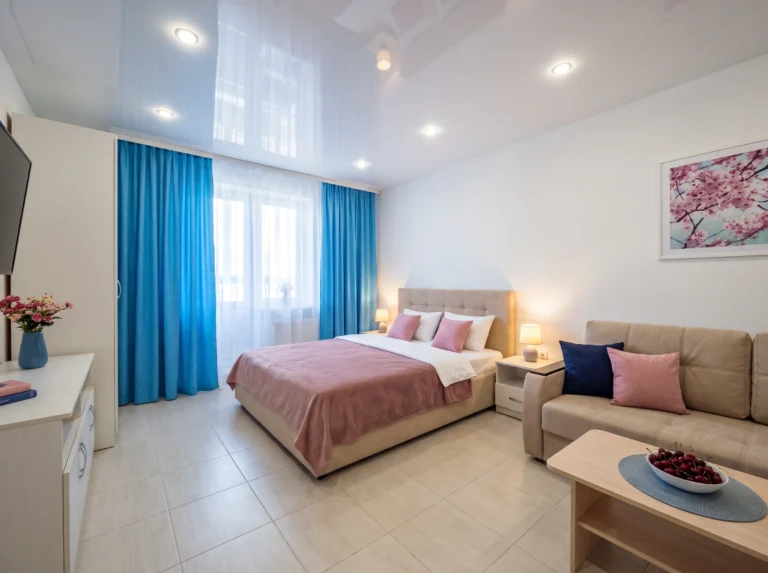
4. Ceiling Curtains Are the Softest Room Divider of All
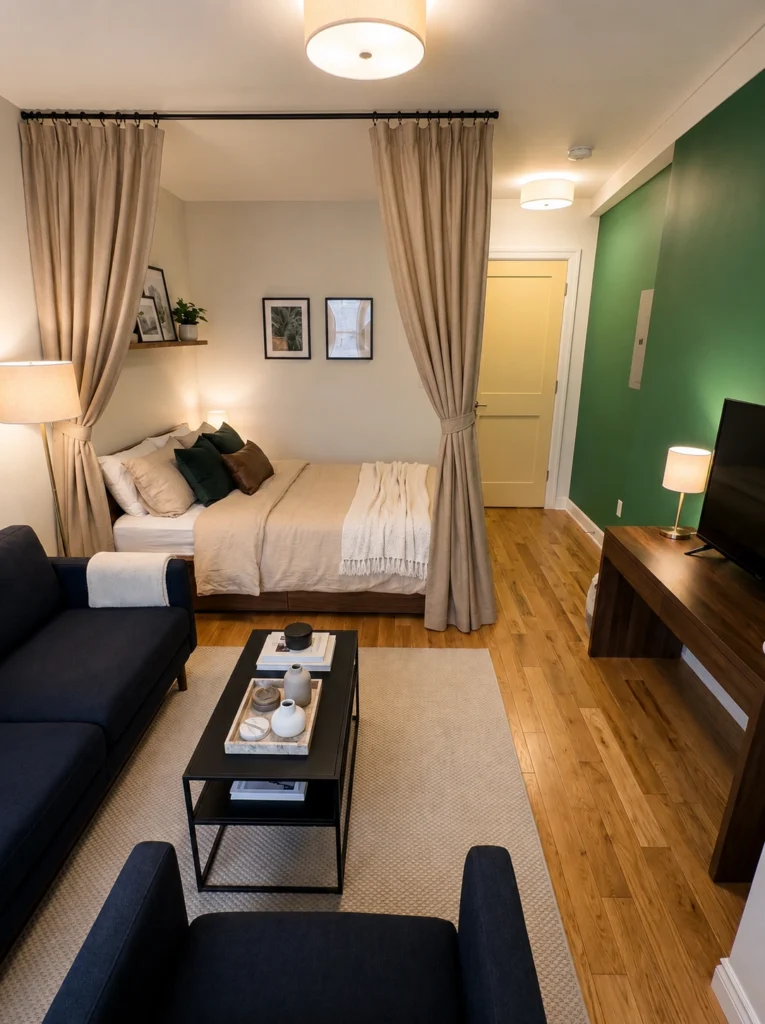
Ceiling-mounted curtain tracks — installed wall to wall above the bed — give you the most flexible room divider possible. Pull them closed at night for genuine privacy and a cocooning bedroom feel. Tie them back during the day and the room opens up completely. The linen panels here are tied back with simple bands, framing the bed like a canopy without touching the floor. It’s the same studio as before, but that curtain track completely changes how the space feels to live in.
Sofia’s honest take: A ceiling curtain track costs $30–$60 and installs with a drill in under an hour. It’s the single most impactful renter-friendly upgrade available — more than any rug, plant, or piece of art. If you only do one thing to your studio, make it this.
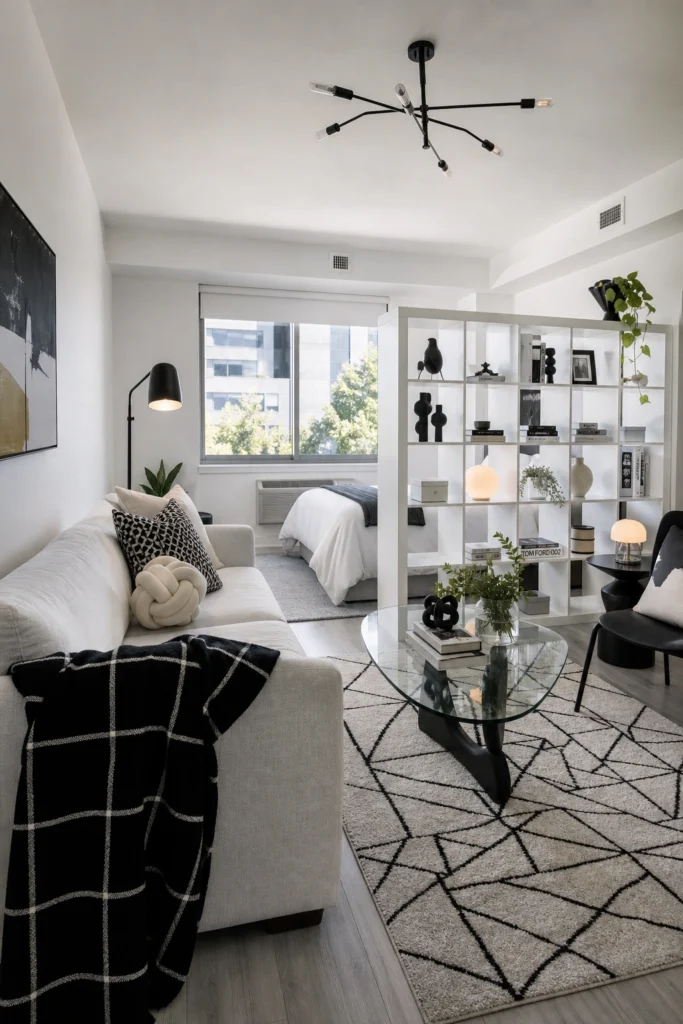
5. Use an Open Shelving Unit as a Soft Divider
An open shelf is my favorite studio trick because it does two jobs at once — it splits the room and gives you storage you actually need. The key word is open. Light still flows through, the space still breathes, but your bed isn’t sitting in the middle of your living room anymore. Style it with books, plants, and a few ceramic pieces so it looks intentional, not like an IKEA showroom.
6. Combine a Shelf Divider with a Statement Rug
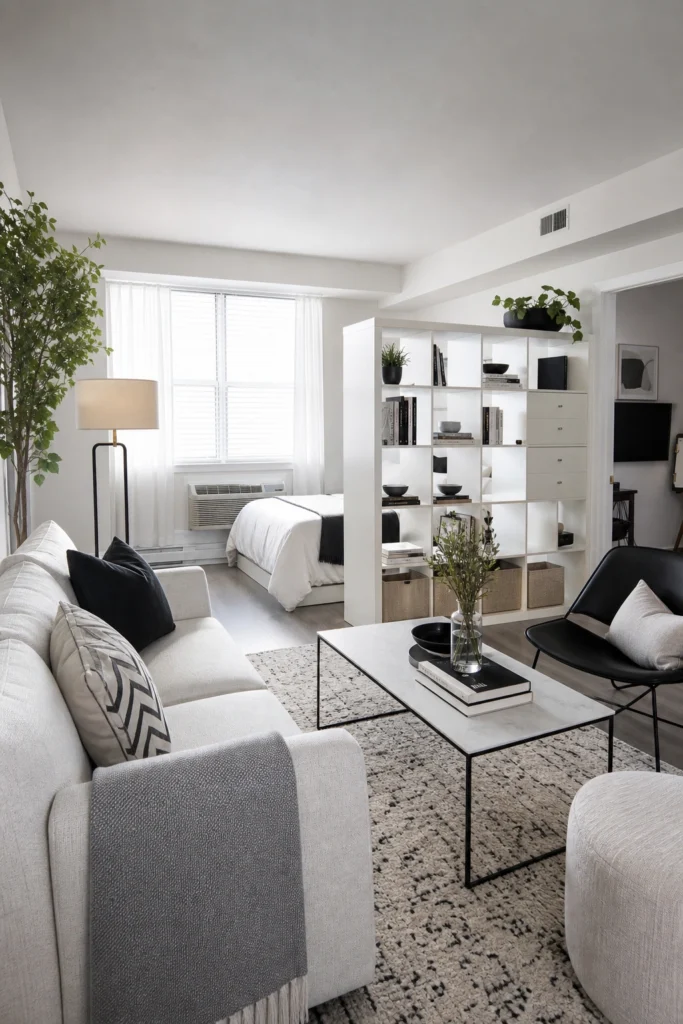
The strongest studios use two zoning tools at once: a divider plus a defined rug zone. The shelf gives you visual separation, and the rug glues the living area together so it doesn’t drift into the bedroom. Aim for a rug big enough that the front legs of every seat sit on it. Small rugs floating in the middle of a room are the number-one studio mistake. Don’t make it.
7. Try a Kallax Cube Shelf for Built-In Storage
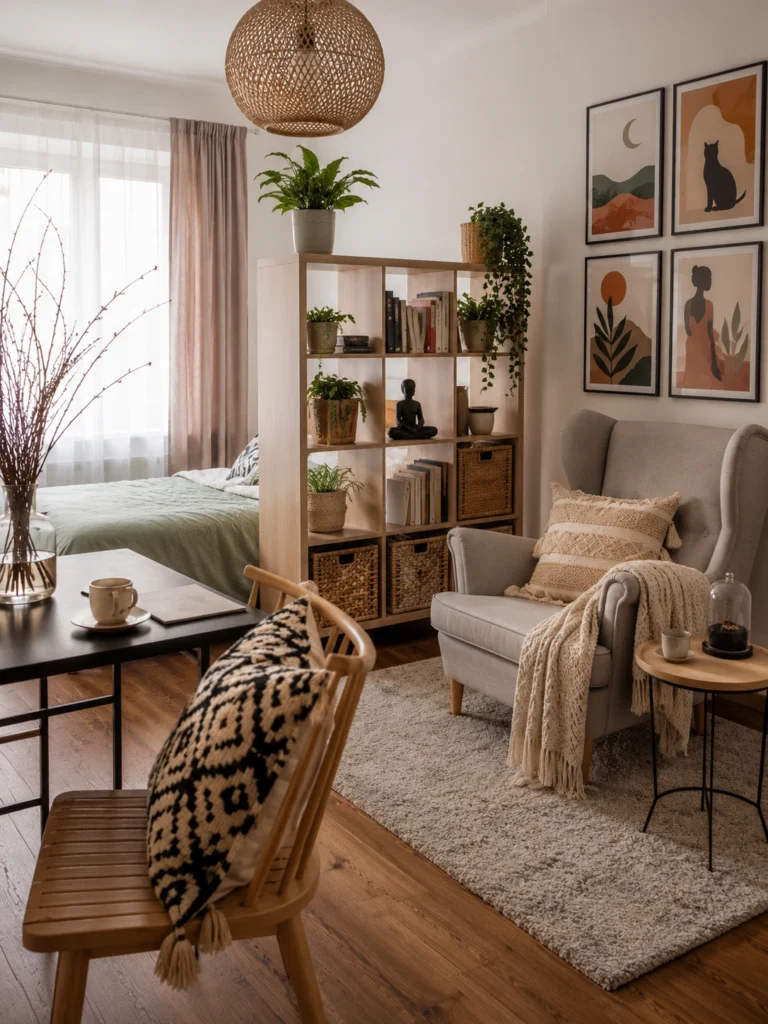
If you’ve ever wondered why every small-space tour on Instagram features an IKEA Kallax, this is why. The cube grid gives you display space facing the living room and hidden storage (use the fabric inserts) facing the bedroom.
Pro tip: Anchor it to the wall or ceiling if you have pets, kids, or live somewhere with even mild seismic activity. Don’t skip this step.
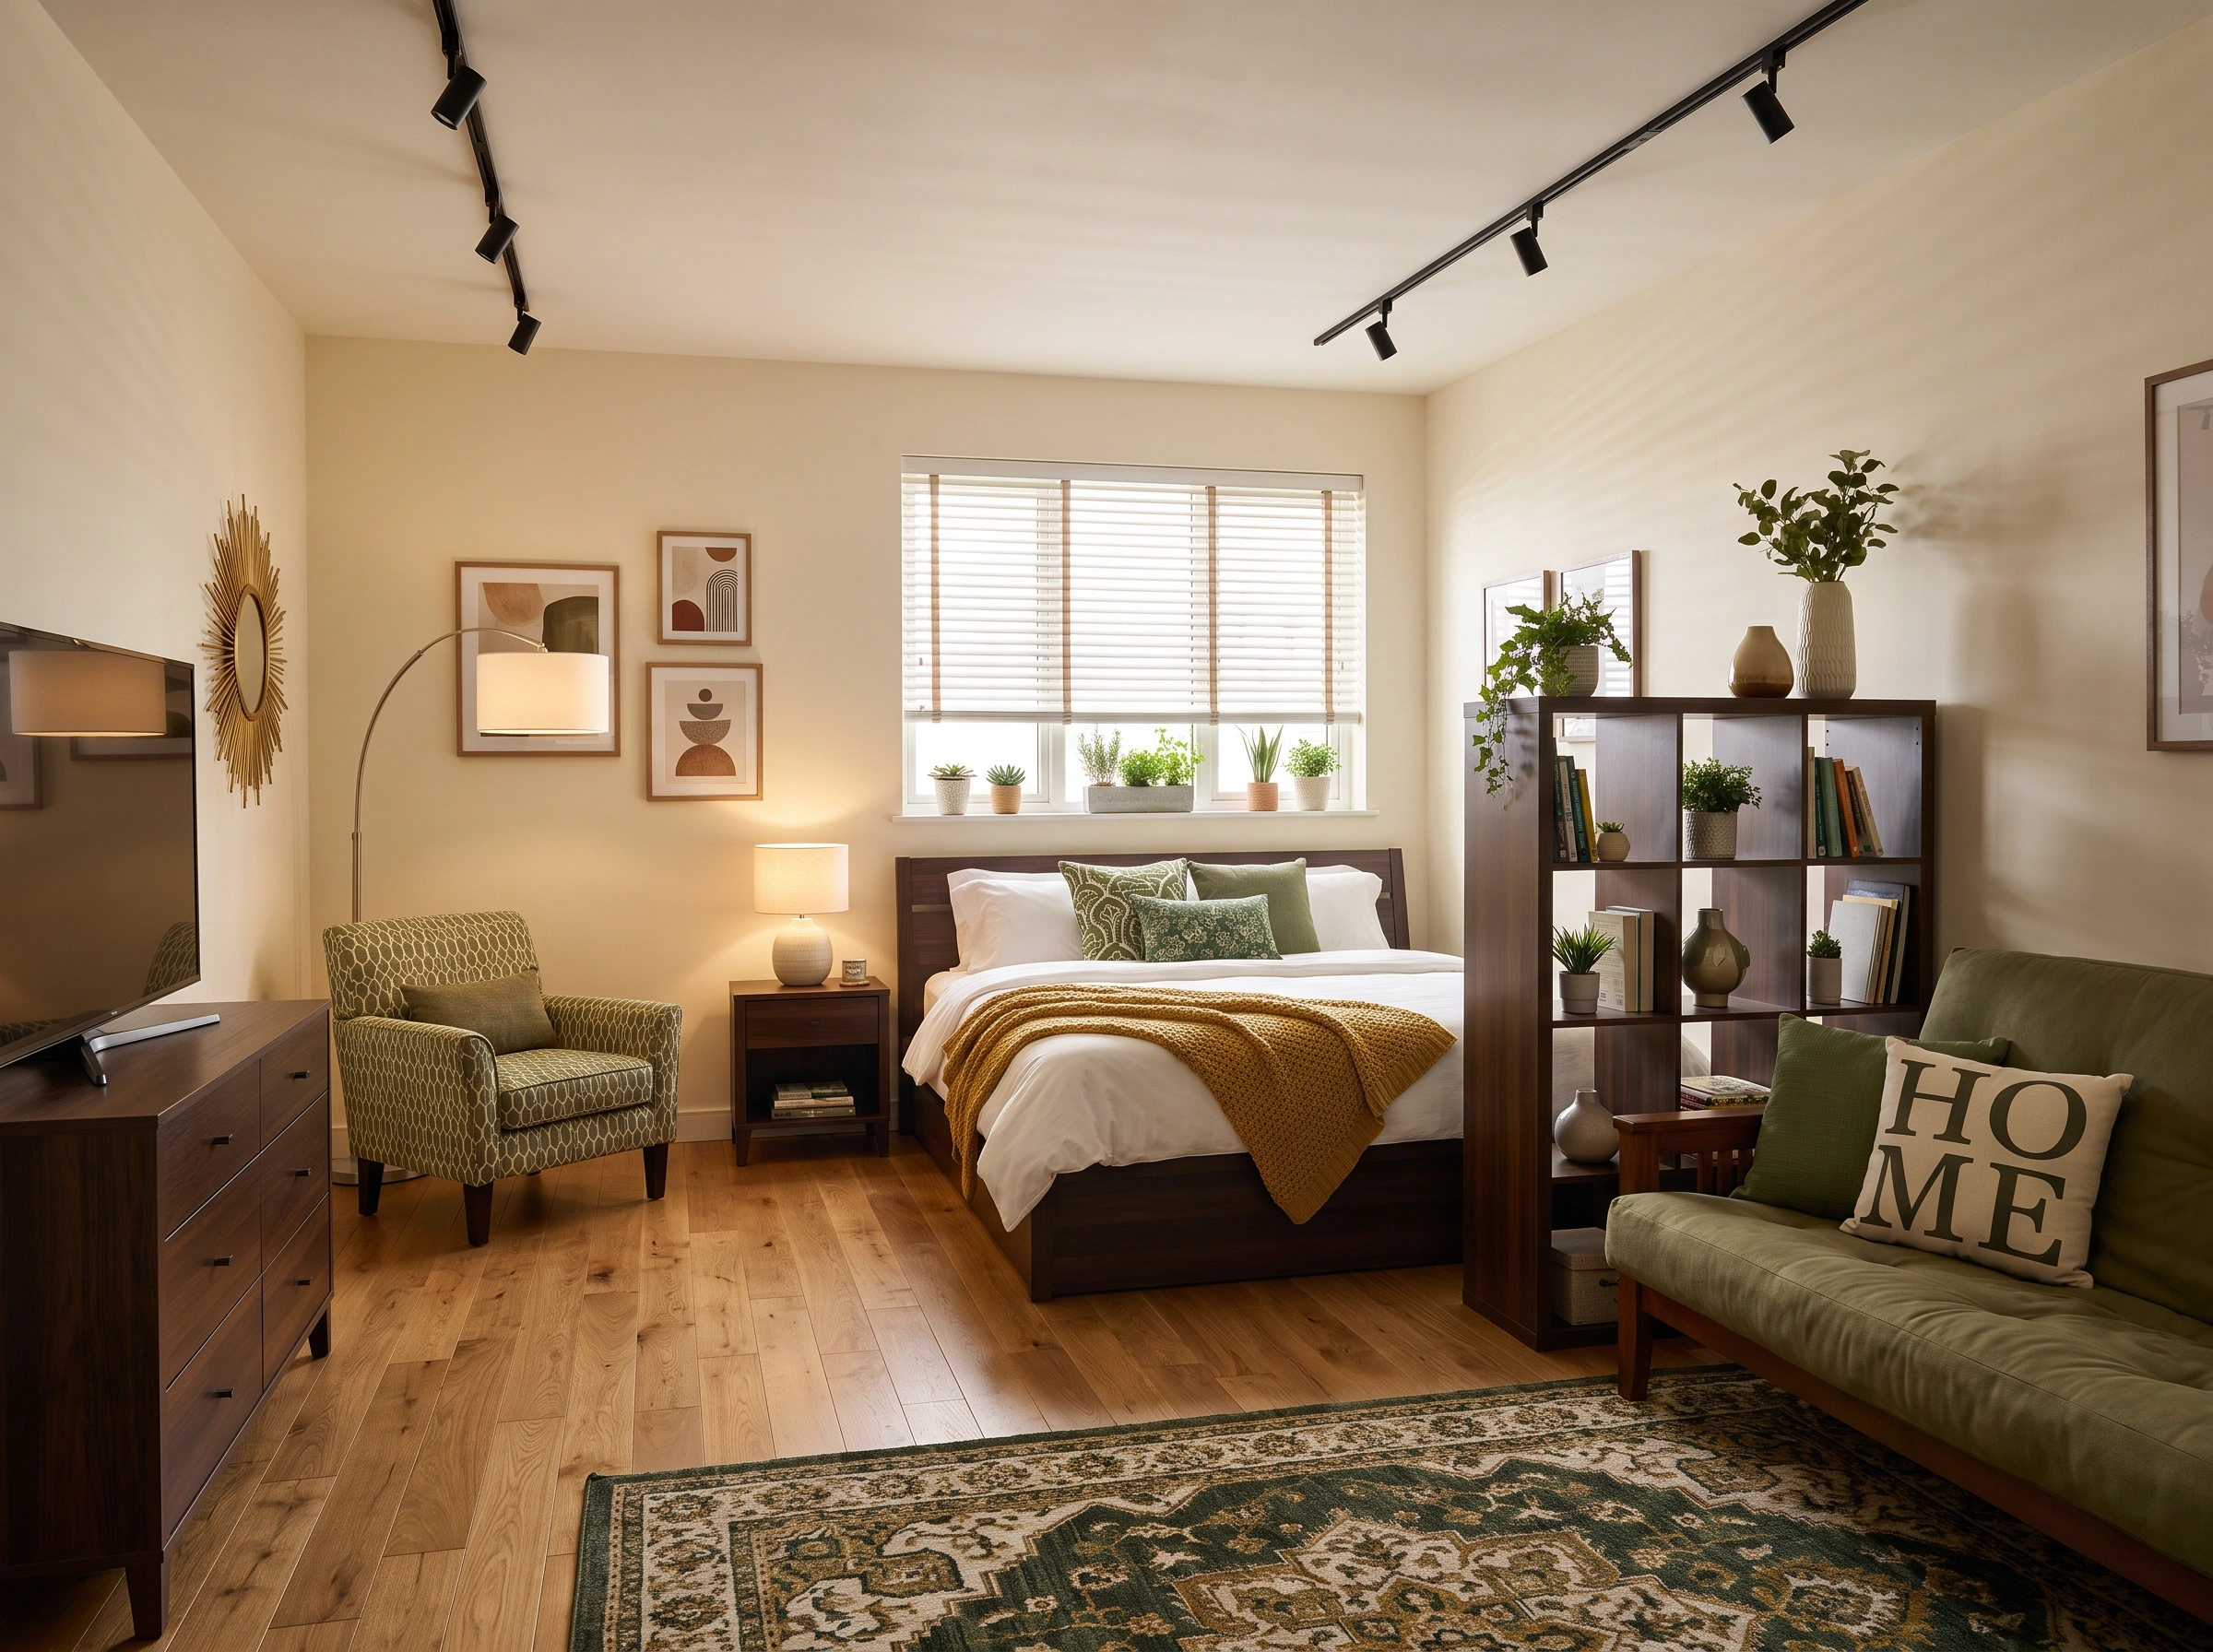
8. Position the Bed With Its Back to the Living Area
Sometimes the simplest move is rotating the bed. Push it against a wall (or float it with a tall headboard) so that when you’re sitting on the sofa, you’re not staring at pillows. Add a slim console or dresser behind the headboard to double as a sofa table. You just made one piece of furniture pull triple duty — bed, divider, and side table.
9. Build a Platform Bed Nook With Hidden Storage
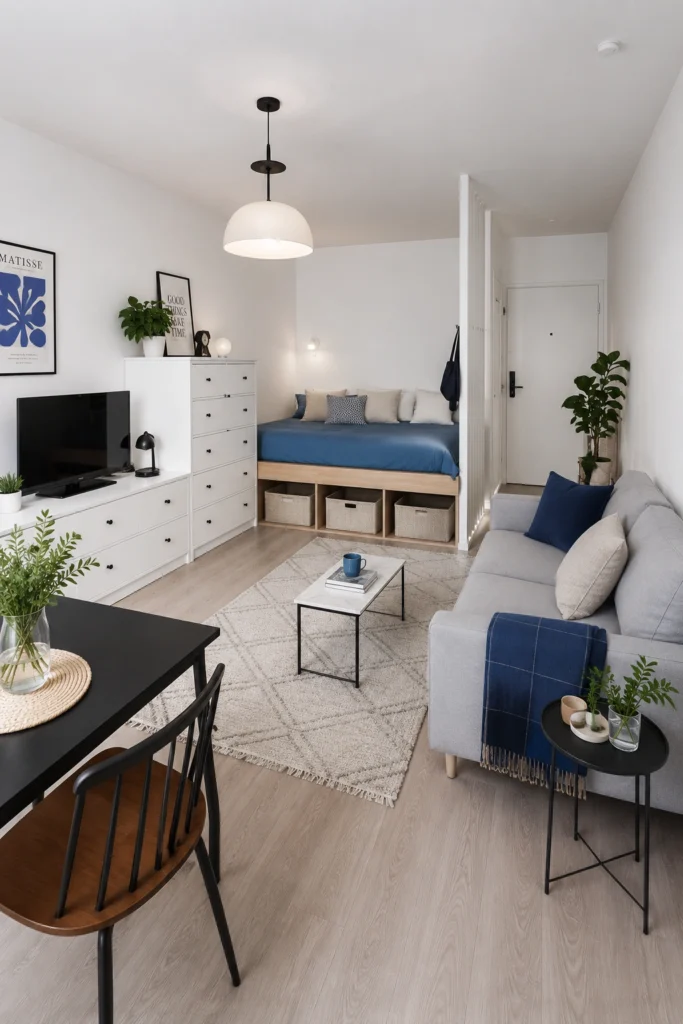
If you can swing it, a platform bed tucked into a nook with storage underneath is the holy grail of studio living. The half-wall hides the bed from the front door, the platform lifts it off the floor, and the cubbies underneath swallow your shoes, sweaters, and that one box of “stuff” everyone has. It feels architectural — like the apartment was designed for one person, not just rented by one.
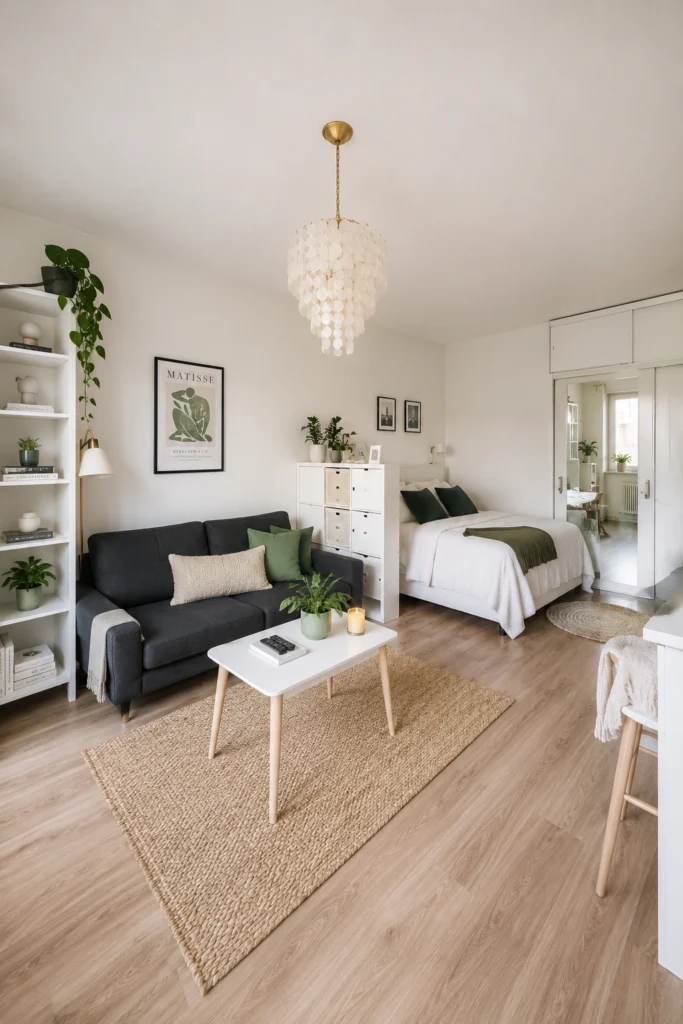
10. Use a Tall White Kallax for a Bright, Airy Divide
A tall white shelving unit is the cleanest, lightest version of the divider trick. It reads almost like a wall but still lets air and light pass through the cubes. Style each cube with restraint — one object per square, not five — so it looks curated.
Pro tip: Leave a few cubes completely empty. Negative space (the deliberate “nothing” between objects) is what makes shelves look designed, not stuffed.
11. Hang Sheer Curtains for the Softest Possible Divide
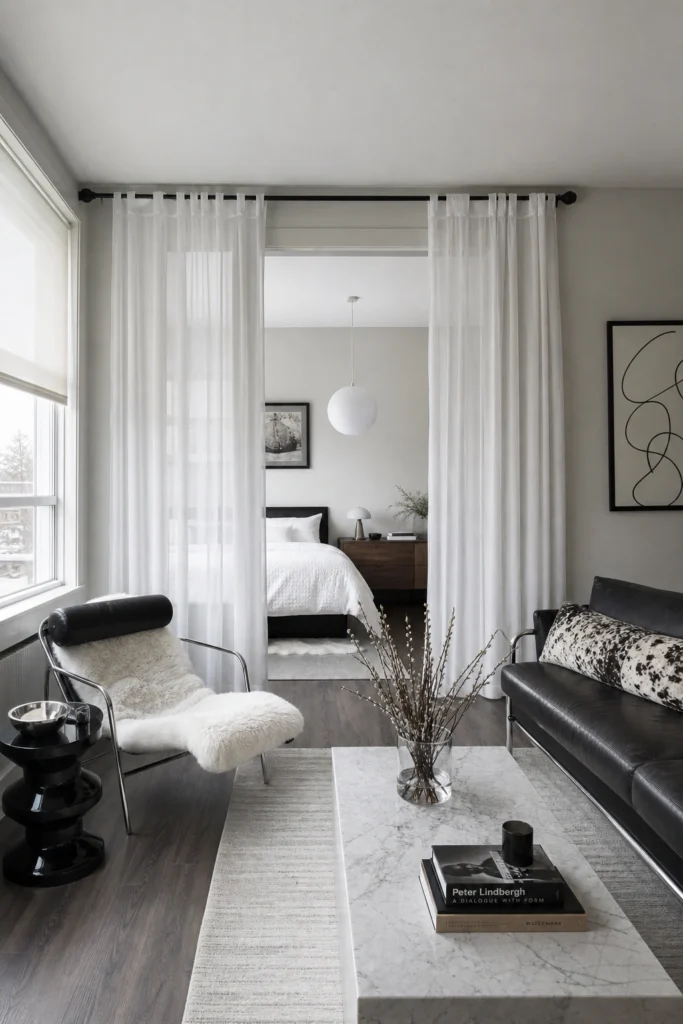
This is my favorite renter hack. A ceiling-mounted curtain track plus floor-length sheer curtains gives you instant privacy at night and a completely open space during the day. It’s romantic, it’s flexible, and it costs less than a single piece of furniture.
Renter-friendly alternative: Use a tension rod if drilling into the ceiling is off the table. Just make sure the rod can handle the curtain weight before you trust it overnight.
12. Skip the Divider — Zone With Rugs Instead
If your studio is genuinely tiny, a physical divider might steal more space than it saves. The fix? Two different rugs. One under the bed, one under the sofa. Each rug acts like an invisible “room marker.” Your eye reads them as separate zones even though nothing’s blocking the view.
Renter-friendly bonus: rugs roll up when you move. No holes, no damage, no deposit drama.
Final Thoughts
A studio apartment doesn’t have to feel like one room with a bed shoved in the corner. Pick one method from this list — a shelf, a curtain, even just a second rug — and try it this weekend. You’ll be surprised how much calmer the space feels the moment your bed isn’t the first thing you see when you sit down on the couch.
Start with what you already own. Rearrange before you buy. And remember: studios reward people who are honest about how they actually live, not people chasing magazine layouts.
Your home should make you happy — not impressed strangers. A studio can absolutely do both.