17 TV Placement Ideas That Actually Work in a Studio Apartment
Where you put your TV in a studio apartment isn’t just a decorating decision — it’s a layout decision. Get it wrong and your whole room feels awkward. Get it right and suddenly everything clicks: the furniture flows, the zones feel intentional, and you stop bumping into the corner of your dresser at midnight. Here are 17 TV placement ideas pulled straight from real studio setups, with honest notes on what works and what doesn’t.
1. Mount It on a Feature Wall and Let Color Do the Work
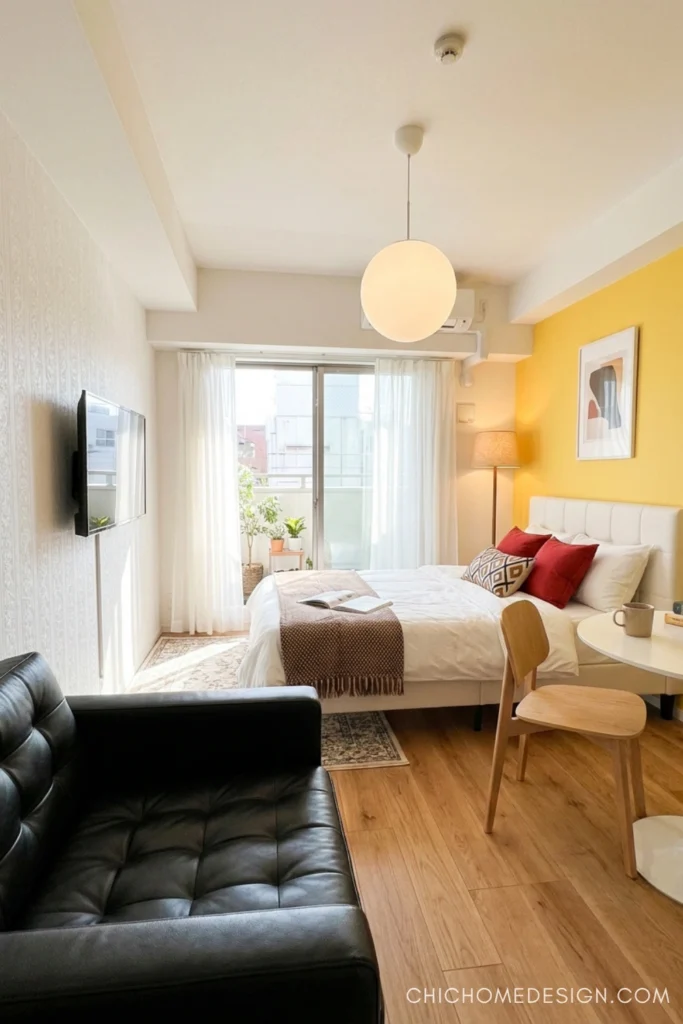
Here’s the thing — a wall-mounted TV only looks as good as the wall behind it. In this setup, the TV lives on a clean white wall opposite a bold yellow accent wall. That contrast does all the heavy lifting. Your eye moves between the two focal points naturally, making the room feel curated rather than cramped. The TV isn’t competing with the bed or the balcony — it’s just quietly doing its job. If you can’t paint, use a large-format peel-and-stick panel to fake the contrast effect.
2. Use a TV Stand That Doubles as a Room Divider
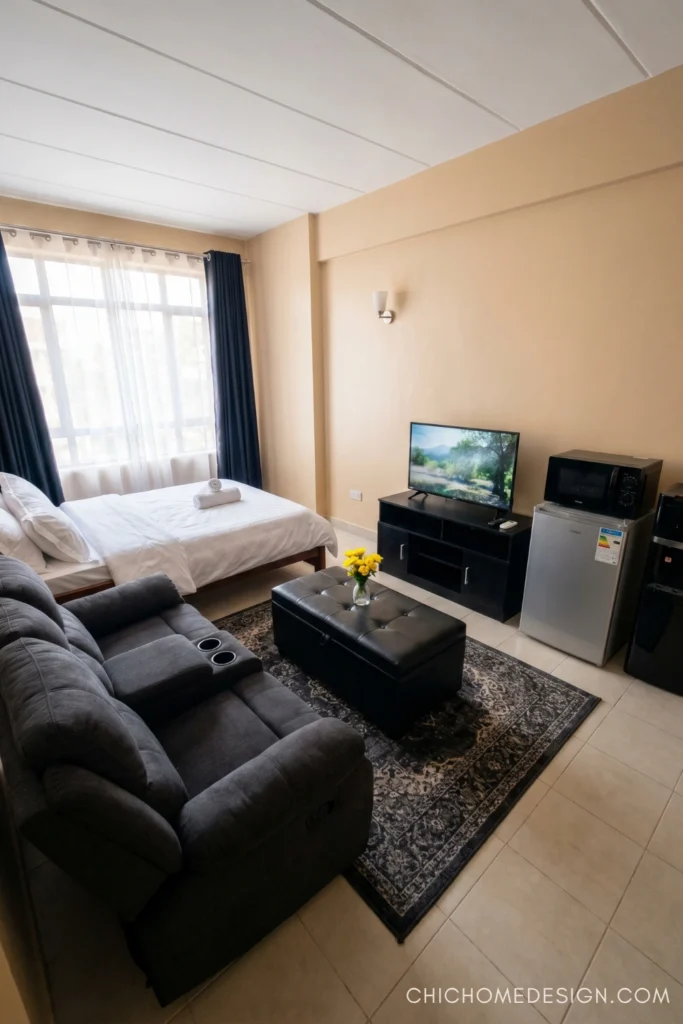
When a TV stand is chunky enough to visually anchor a room, it becomes a divider — even without physically separating the space. The dark media console here stops the eye between the sofa and the bed, creating a soft boundary between “living room” and “bedroom” without any walls or curtains needed.
Pro tip: Choose a console that’s at least 55 inches wide for this to read as a room anchor rather than just furniture floating in space.
3. Float It on the Wall Between Two Zones
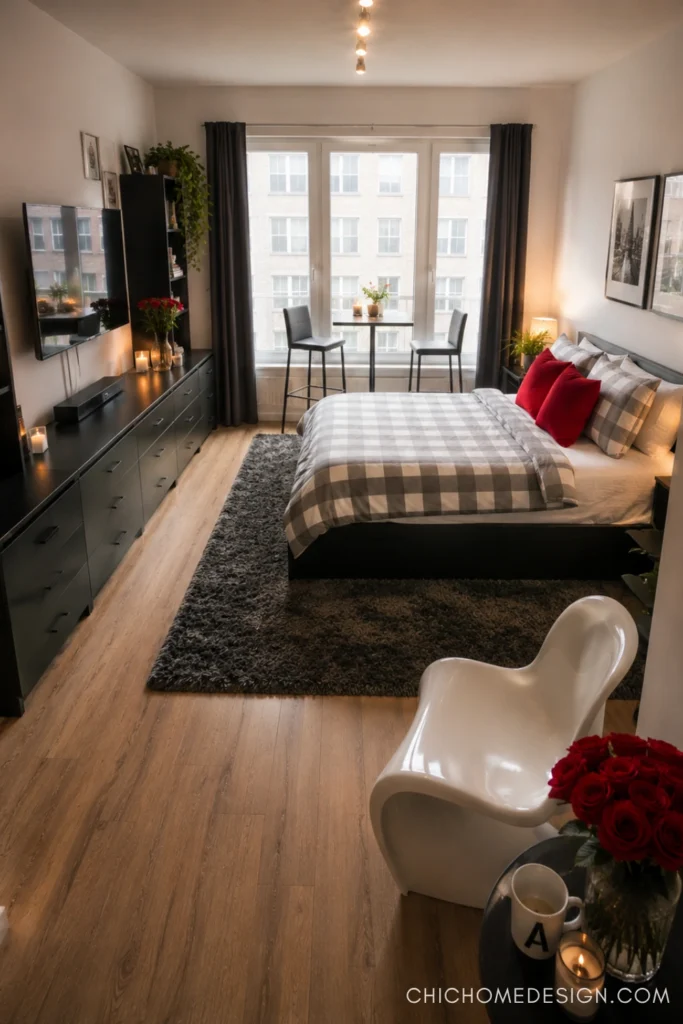
No media console, no clutter — just the TV mounted cleanly on the wall between the sleeping area and the rest of the room. This placement works especially well in longer studios where one end is the bedroom. The framed posters on either side turn the TV wall into a real focal point — it feels intentional, not like you just nailed a screen to the wall.
Keep cords tucked into a slim cable management raceway for a finished look. This is one of the tidiest TV placement approaches for small spaces.
4. Anchor the Living Zone with a Low-Profile Media Setup
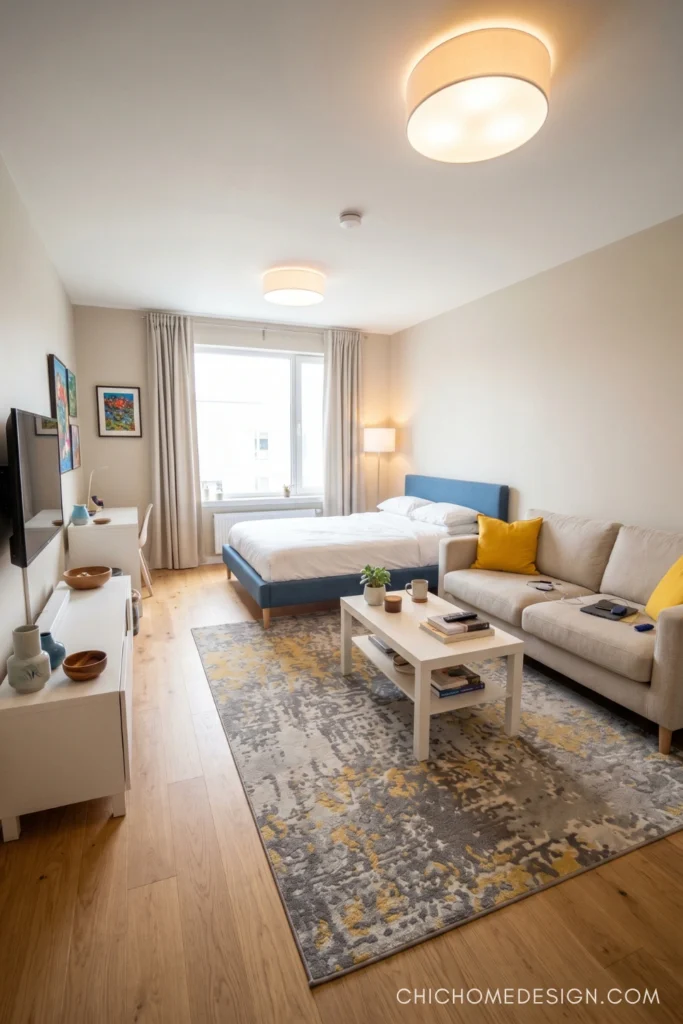
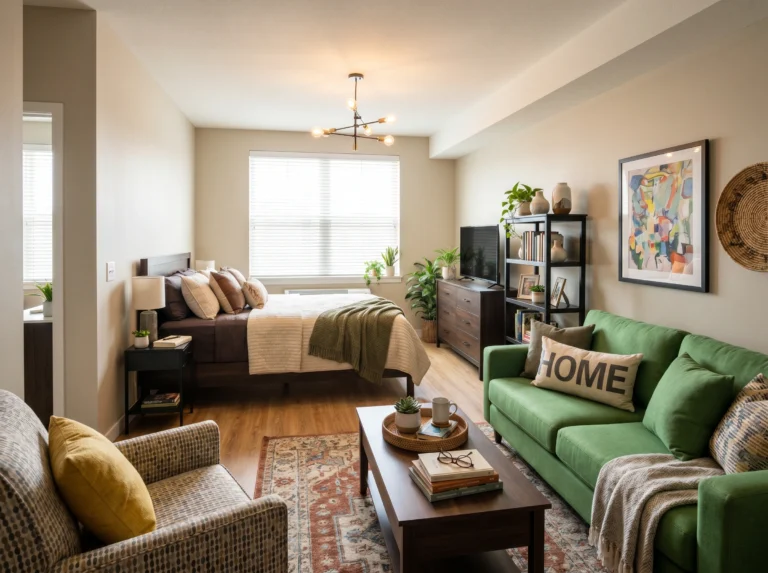
Low console, small TV, big rug — that’s the formula here. The TV doesn’t dominate, it anchors. By keeping the media setup low and centered on the long wall, the eye travels horizontally across the whole room, which makes the space read as wider. The sofa and bed face the same general direction without fighting for attention.
A 43–50 inch TV is usually the sweet spot for studios under 400 sq ft. Bigger doesn’t mean better when you’re sitting six feet away.
5. Build a Full Living Room Zone Around the TV Wall
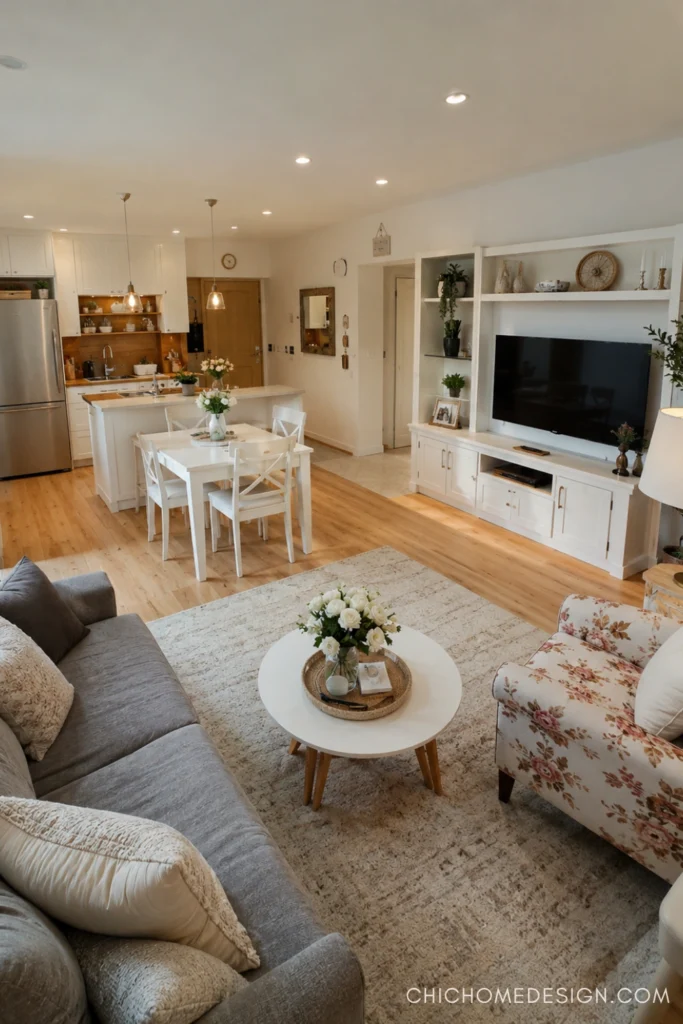
If your studio has enough width, treat one entire wall as the entertainment wall — TV centered, storage on either side, art above. This built-in look (even if it’s just IKEA KALLAX units flanking a media console) tells the room that this wall means business. It grounds the living area so firmly that everything else — the dining table, the kitchen — naturally falls into place around it. It’s the most “real apartment” energy you can bring to a studio layout.
6. Tuck the TV Into a Bookshelf Wall for a Cozy, Lived-In Feel
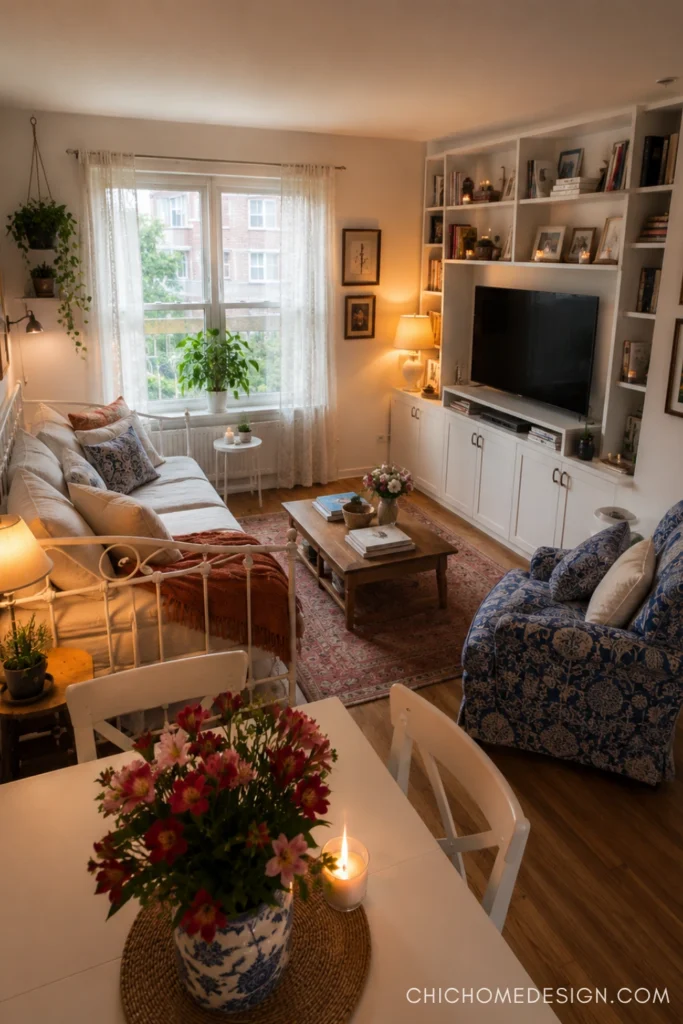
A TV surrounded by books and objects stops being a screen and starts being part of the room’s personality. This placement works brilliantly in studios where you want the space to feel warm and lived-in rather than minimal. The key is balancing the shelves on either side — not too symmetrical (boring) and not too random (chaotic). Warm lamp light nearby softens the TV glow in the evenings.
Renter-friendly alternative: Freestanding bookcases like IKEA BILLY units side-by-side can fake a built-in at a fraction of the cost.
7. Mount It on the Bedroom Wall Facing the Sofa
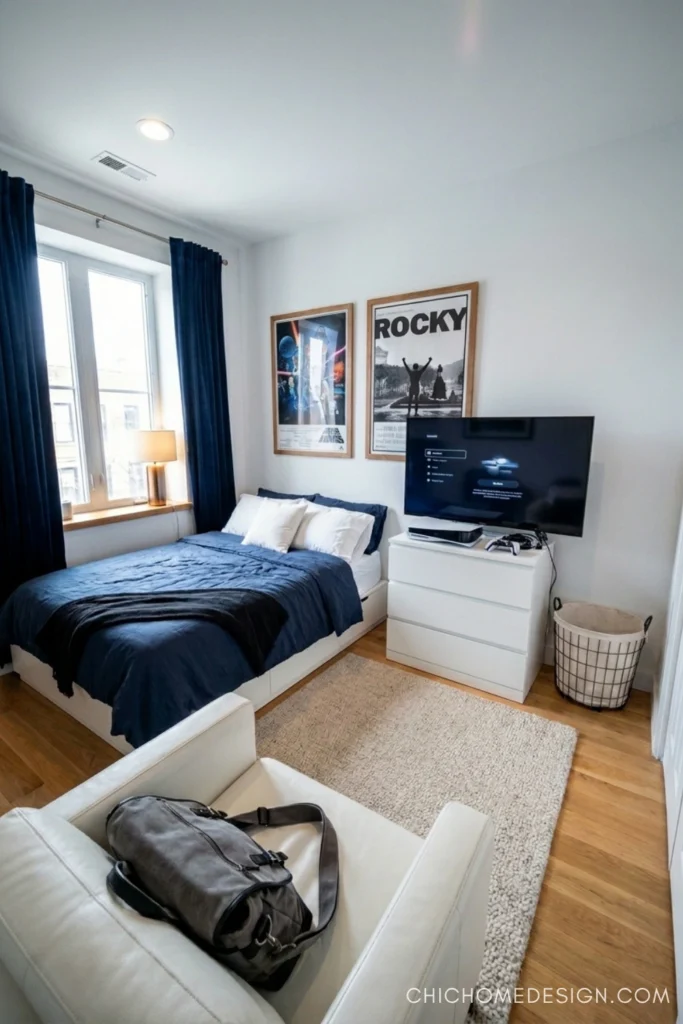
In a narrow studio, sometimes the TV serves both the bed and the sofa — and that’s fine. The trick is mounting height. Position it so it’s comfortable from the sofa when you’re sitting upright, not tilted awkwardly toward the ceiling for bed-watching. Here it sits just above dresser height, which works well. If you want flex viewing from both, a tilting wall mount (around $25–$40 at any hardware store) lets you angle it slightly depending on where you’re sitting.
8. Go Minimal: TV on a Slim Stand in a Scandinavian-Style Studio
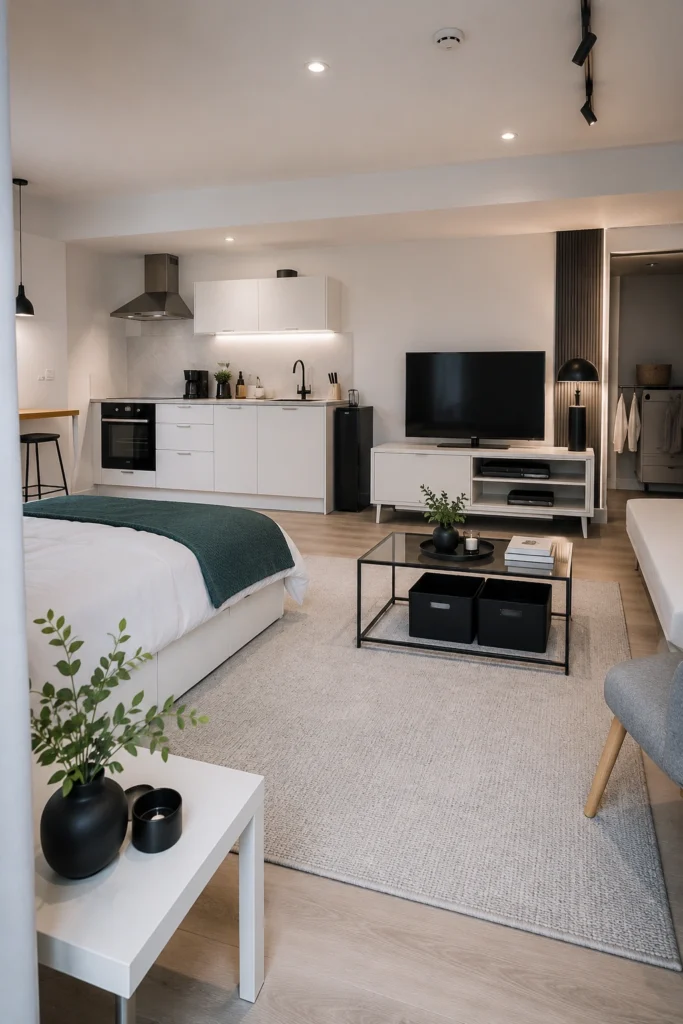
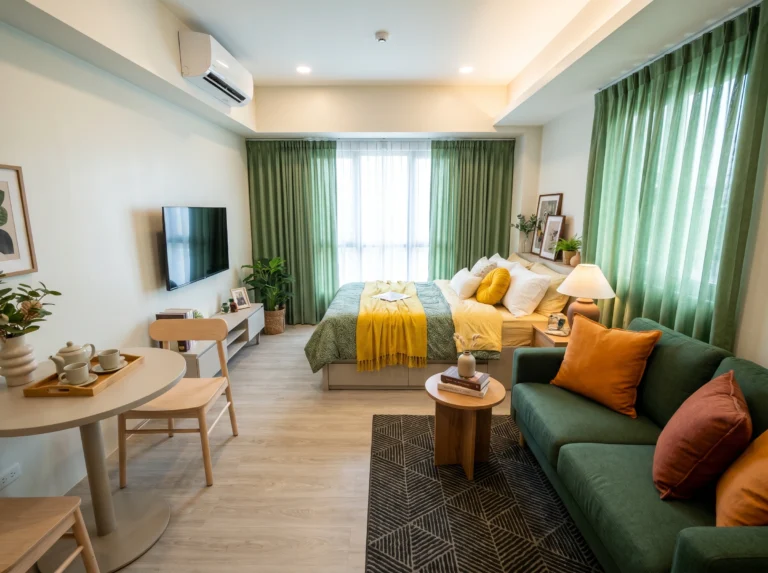
Not every studio needs the TV wall to be a statement. In a Scandinavian-inspired space like this one, the TV sits on a slim white stand and almost disappears into the neutral backdrop. The discipline here is real: no cable box stacked on top, no random remotes, no decorative clutter competing around it. The storage bins inside the coffee table hold the visual mess. If your style is minimal, commit — a clean TV setup is only as clean as everything surrounding it.
9. Let the TV Share Wall Space with a Gallery Display
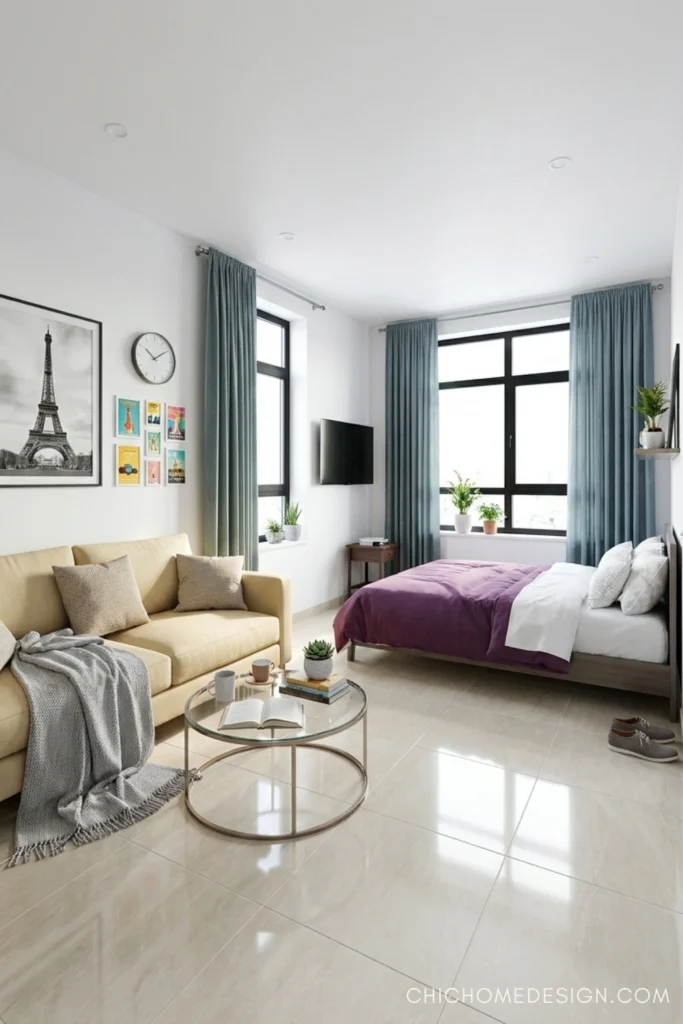
Who said the TV has to own the wall by itself? In this setup, the TV is mounted to the right while a curated gallery wall of travel prints fills the left side — same wall, two personalities. This works when the TV is kept on the smaller side (32–43 inches) so it doesn’t visually swallow the art. The key is leaving at least 12–15 inches of breathing space between the TV edge and the nearest frame. It reads eclectic, personal, and intentional — the opposite of “I just needed somewhere to put the TV.”
10. Pair the TV with a Dedicated Work Corner for Dual Functionality
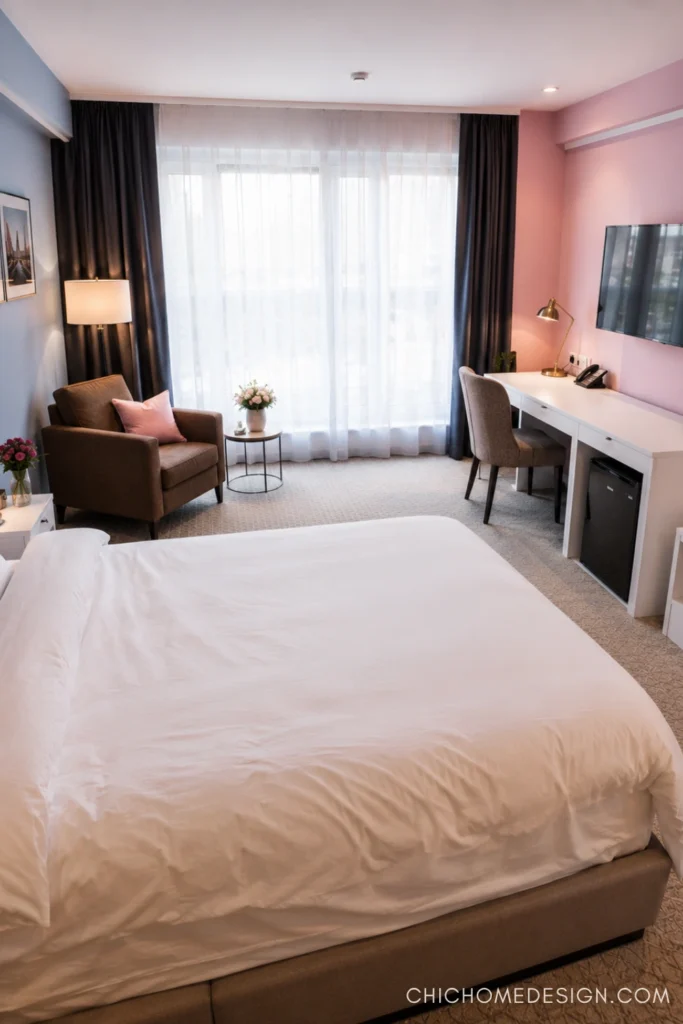
In studios where you work from home, the TV wall and the work zone can share the same real estate. Here the TV is mounted at the center while a narrow desk with a task lamp occupies the corner just beside it. This works because the TV is at viewing height from the bed, and the desk faces a different direction — so neither function conflicts with the other.
Pro tip: A wall-mounted TV frees up the desk surface completely. No console means no surface clutter temptation.
11. Use the TV as One Focal Point in a Multi-Zone Layout
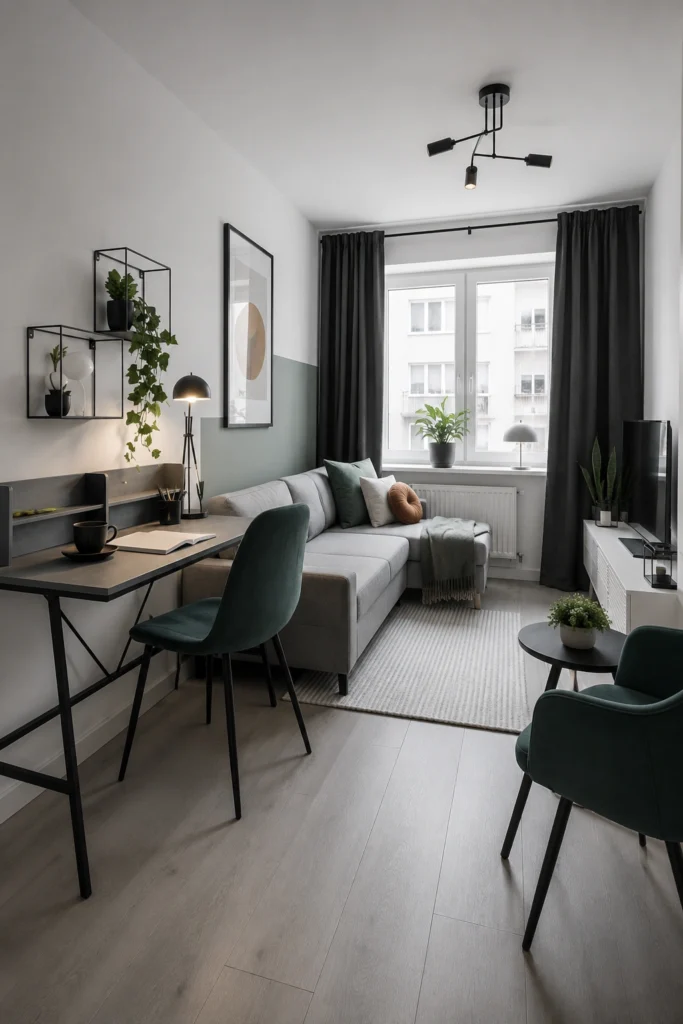
This is smart studio planning: the TV lives on one side of the room, the desk on the other, and the sofa bridges both zones in the middle. The L-shaped sofa faces the TV without blocking access to the desk. Because the TV console is compact and low, it doesn’t compete visually with the art or the workspace. The gray-green half-wall paint treatment behind the sofa draws the eye inward rather than toward any one piece of furniture. Everything shares the space without any single element dominating.
12. Make the TV Part of a Moody, Dark-Palette Studio
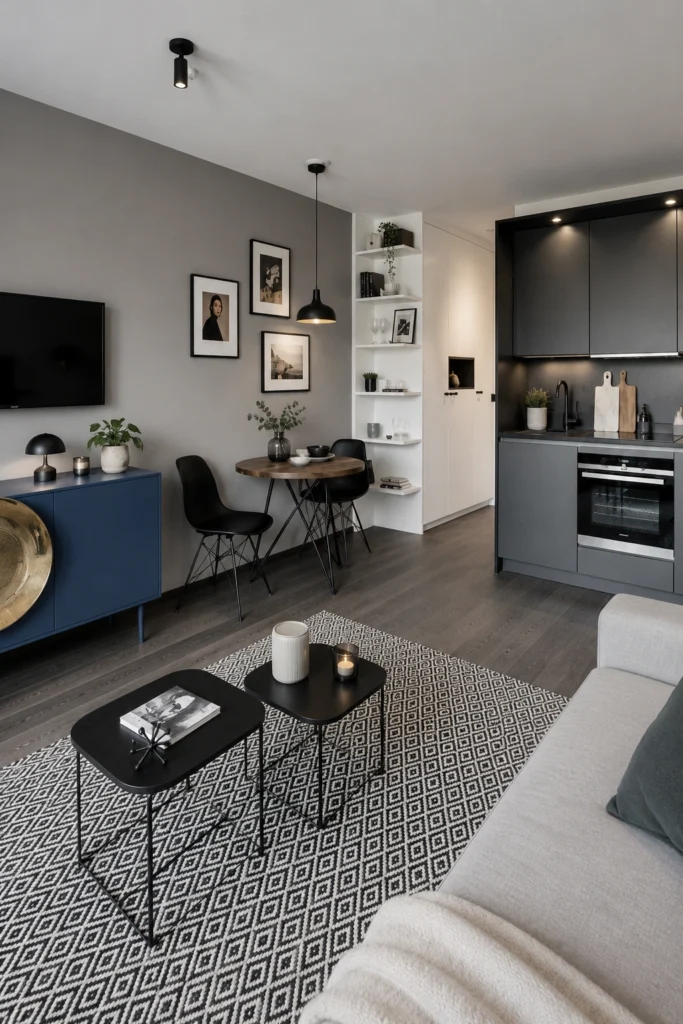
A TV on a dark wall almost disappears — and that’s a feature, not a bug. When the screen is off, it reads as a framed black panel that fits right into a moody, sophisticated palette. The navy credenza below it picks up the blue tones in the room and gives the TV visual weight without a massive console. The small bistro dining table nearby keeps the living and dining zones tight but distinct. Dark studios feel intentional when everything is in the same tonal family — don’t break it with a white media stand.
13. High Ceilings? Go Tall with Your TV Placement Strategy
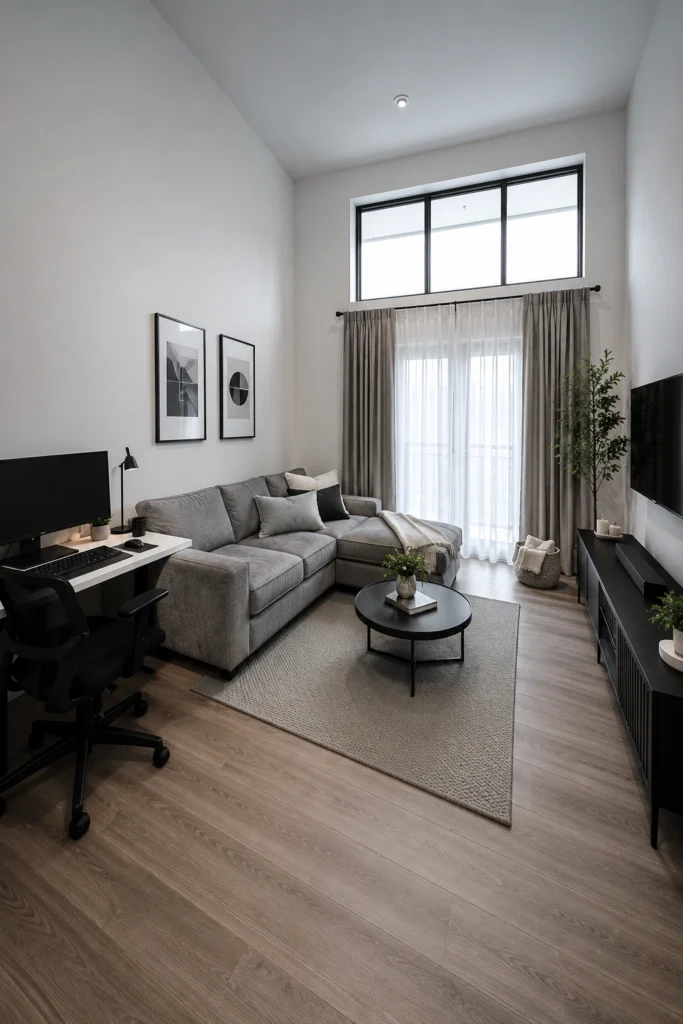
High ceilings are a gift — but they can make a TV placement feel awkward if the screen floats too high or sits too low. The rule here is: mount or place the TV at a comfortable seated eye level (roughly 42–48 inches from floor to center of screen) regardless of how tall the room is. Don’t let the vertical space pull the TV up with it. The tall walls here are addressed with two large framed prints stacked vertically — they fill the height while the TV anchors the horizontal midpoint.
14. Elevate the Whole Setup with Luxury-Inspired TV Placement
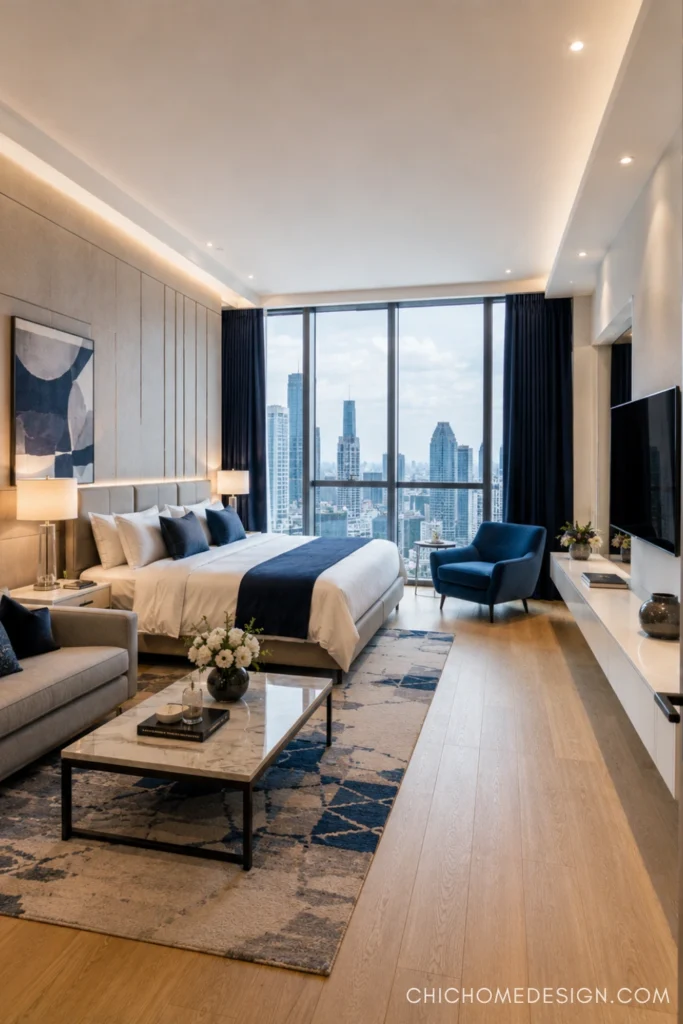
Not every studio is a budget starter apartment — and this one proves it. The TV is mounted on a floating wall panel beside a floor-to-ceiling window wall, which means the view and the screen share the same sightline. The floating media console keeps the floor clear, which is essential when you have gorgeous wide-plank flooring you actually want to see. Even if your budget is more IKEA than interior designer, the principle holds: float your TV console off the floor and the whole room feels more polished.
15. Keep It Classic: TV on a Wooden Console in a Neutral Studio
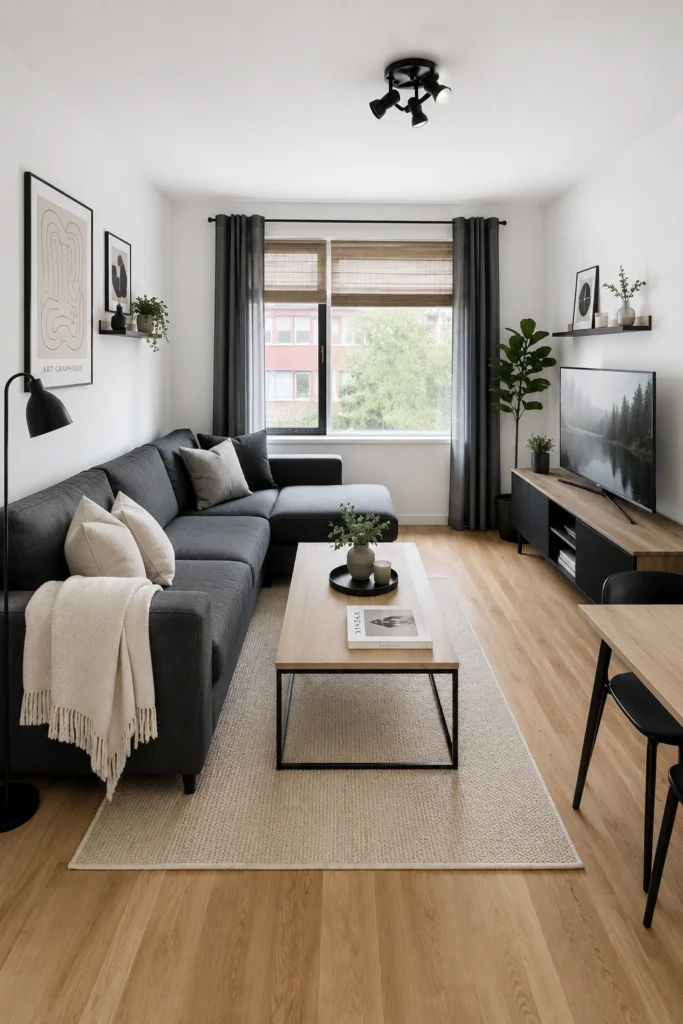
Sometimes the most effective TV placement is also the simplest: a good-looking media console, a well-sized screen, and nothing fussy around it. The warm wood console grounds this Scandi-modern room without fighting the dark sofa or the minimal wall art. The fiddle-leaf fig in the corner adds height and life without taking up floor space in front of the TV.
Save vs. Splurge: Save on the TV stand (IKEA HEMNES or similar does the job); splurge on a quality TV that doesn’t wash out in daylight.
16. Mount It High and Minimize to Make a Small Studio Feel Airy
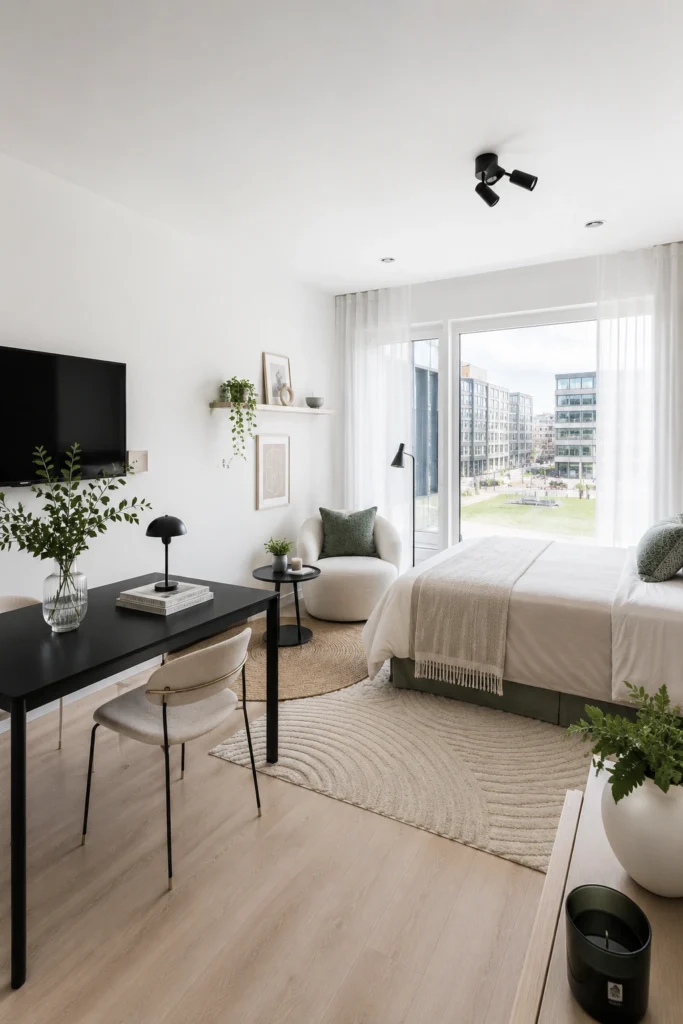
When every square foot counts, wall-mounting the TV and eliminating the console entirely is the boldest move — and it pays off. Here the TV floats on a clean white wall above a slim wall shelf holding a few plants and books. No console means no surface, which means less clutter. The slim black desk and boucle chair take up minimal visual weight. This is the setup for someone who wants the room to breathe. The trade-off is cable management — plan that before you drill, not after.
17. Create a Full Entertainment-Living Zone in One Generous Studio
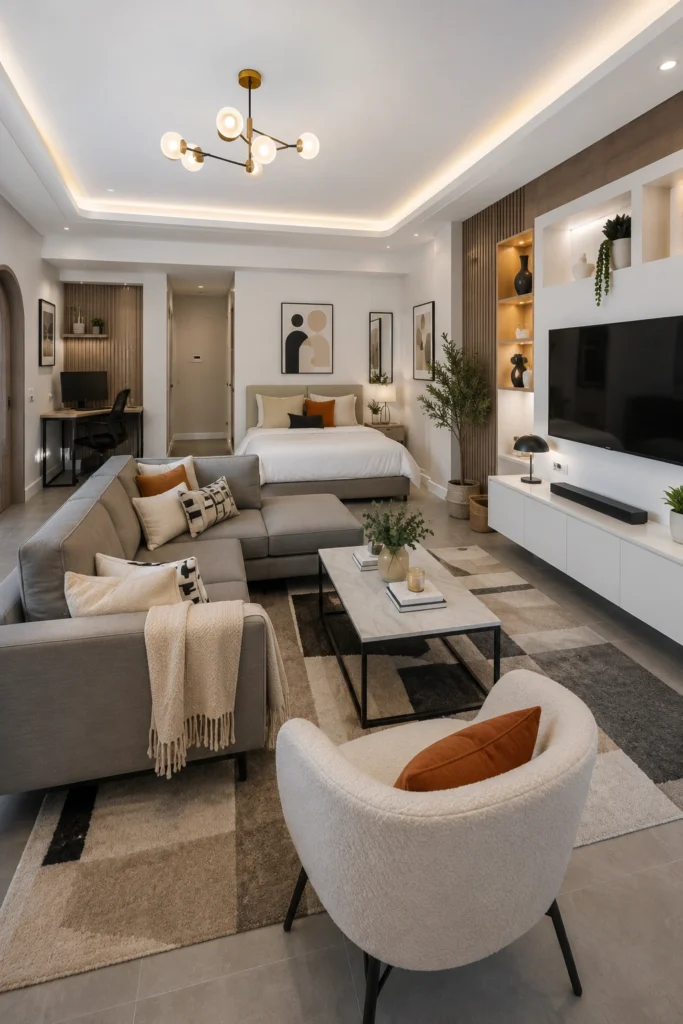
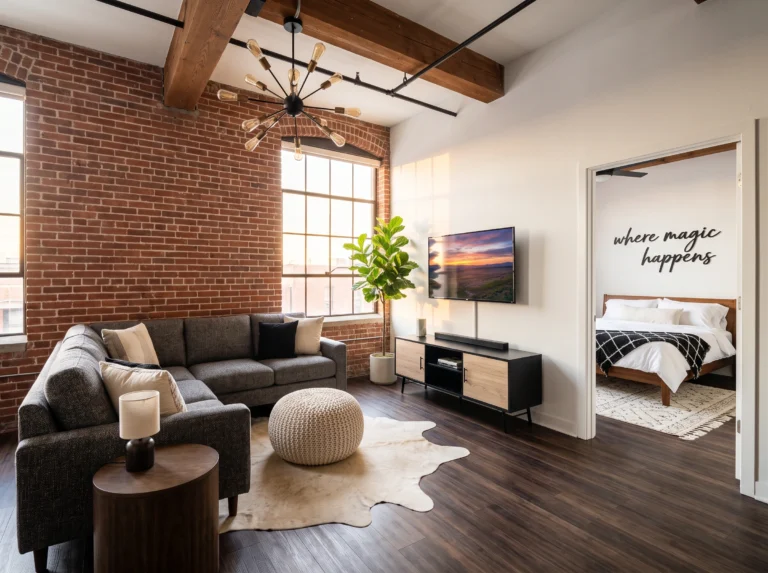
When the studio is generous in size, you can go all in on the entertainment wall — built-in niches, warm shelf lighting, a proper sectional sofa, the works. The TV here is set into a lit alcove flanked by open shelving, making it a true focal wall rather than just a screen on a stand. The sputnik chandelier overhead gives the living zone real presence. Even if you can’t build actual niches, the look can be approximated with floating shelves and LED strip lighting behind them (around $30–$50 for the strips at any hardware store).
Final Thoughts
TV placement in a studio isn’t about finding a spot where the screen fits — it’s about building the whole room around a decision that actually makes sense for how you live. Whether you go wall-mounted and minimal or full entertainment wall with warm shelf lighting, the best placement is always the one that respects the flow of the room and doesn’t force your furniture into awkward angles to accommodate it.
Start with your sofa position, then work backwards to the TV. Most people do it the other way around — and that’s exactly why their studio always feels slightly off.
Your studio should feel like a home, not a hotel room with a bad sightline. Get the TV right and everything else gets easier.
Happy decorating, Sofia
Photo credits: All images © ChicHomeDesign.com